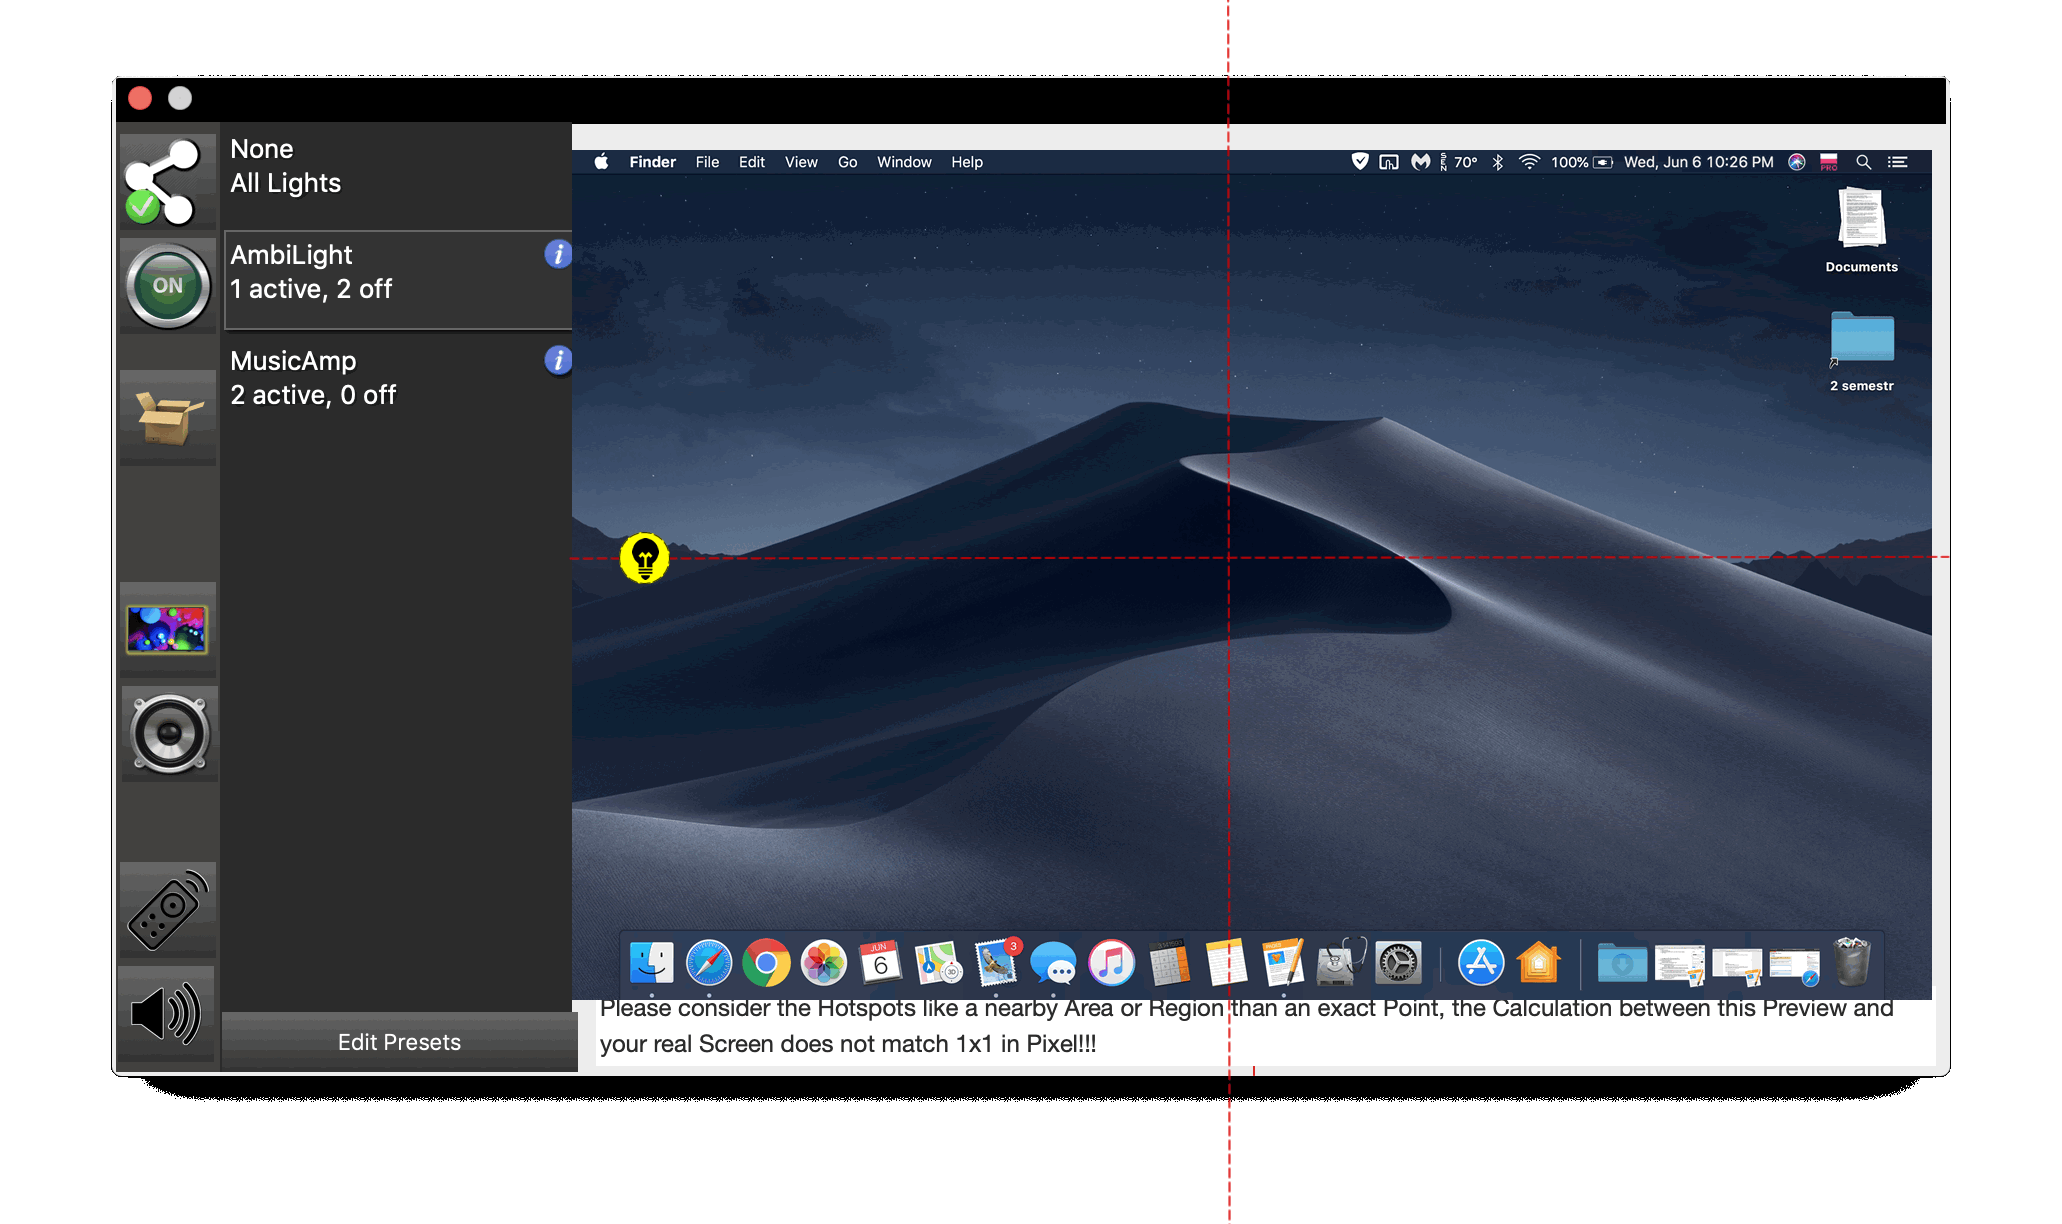

Add Ambilight Effects to your Display!
Works with any Video Player or any Browser, please read about Streaming Services further below!
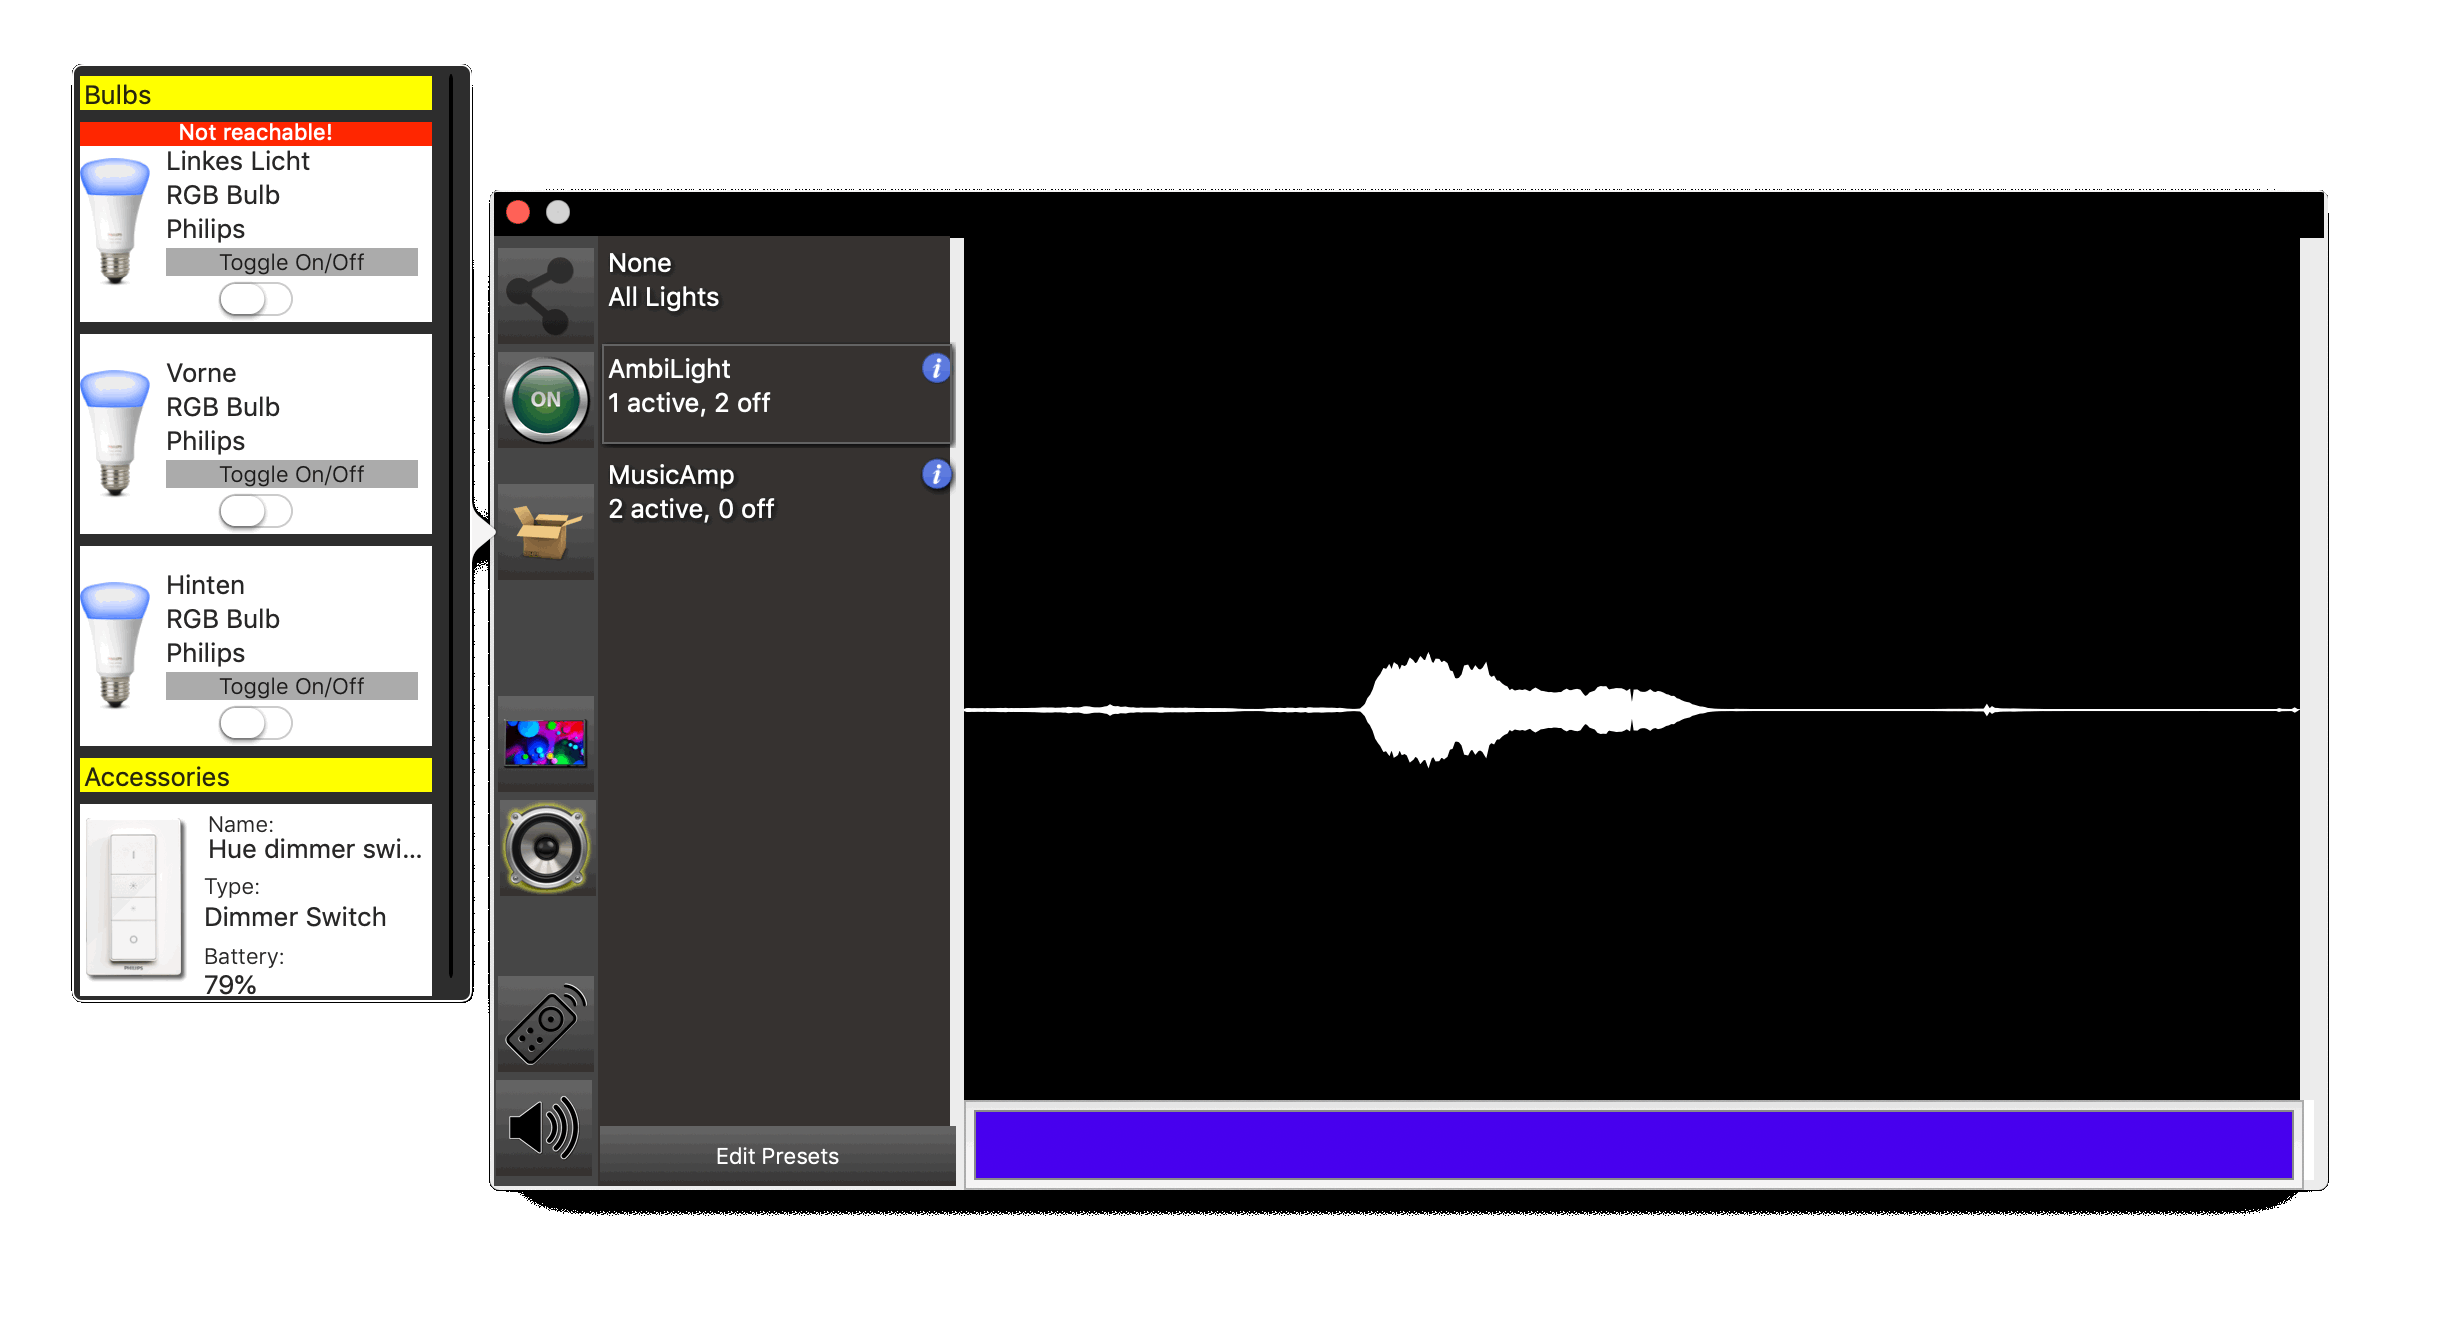
Use either your Screen or your Microphone to tweak Colors based on played Music Notes
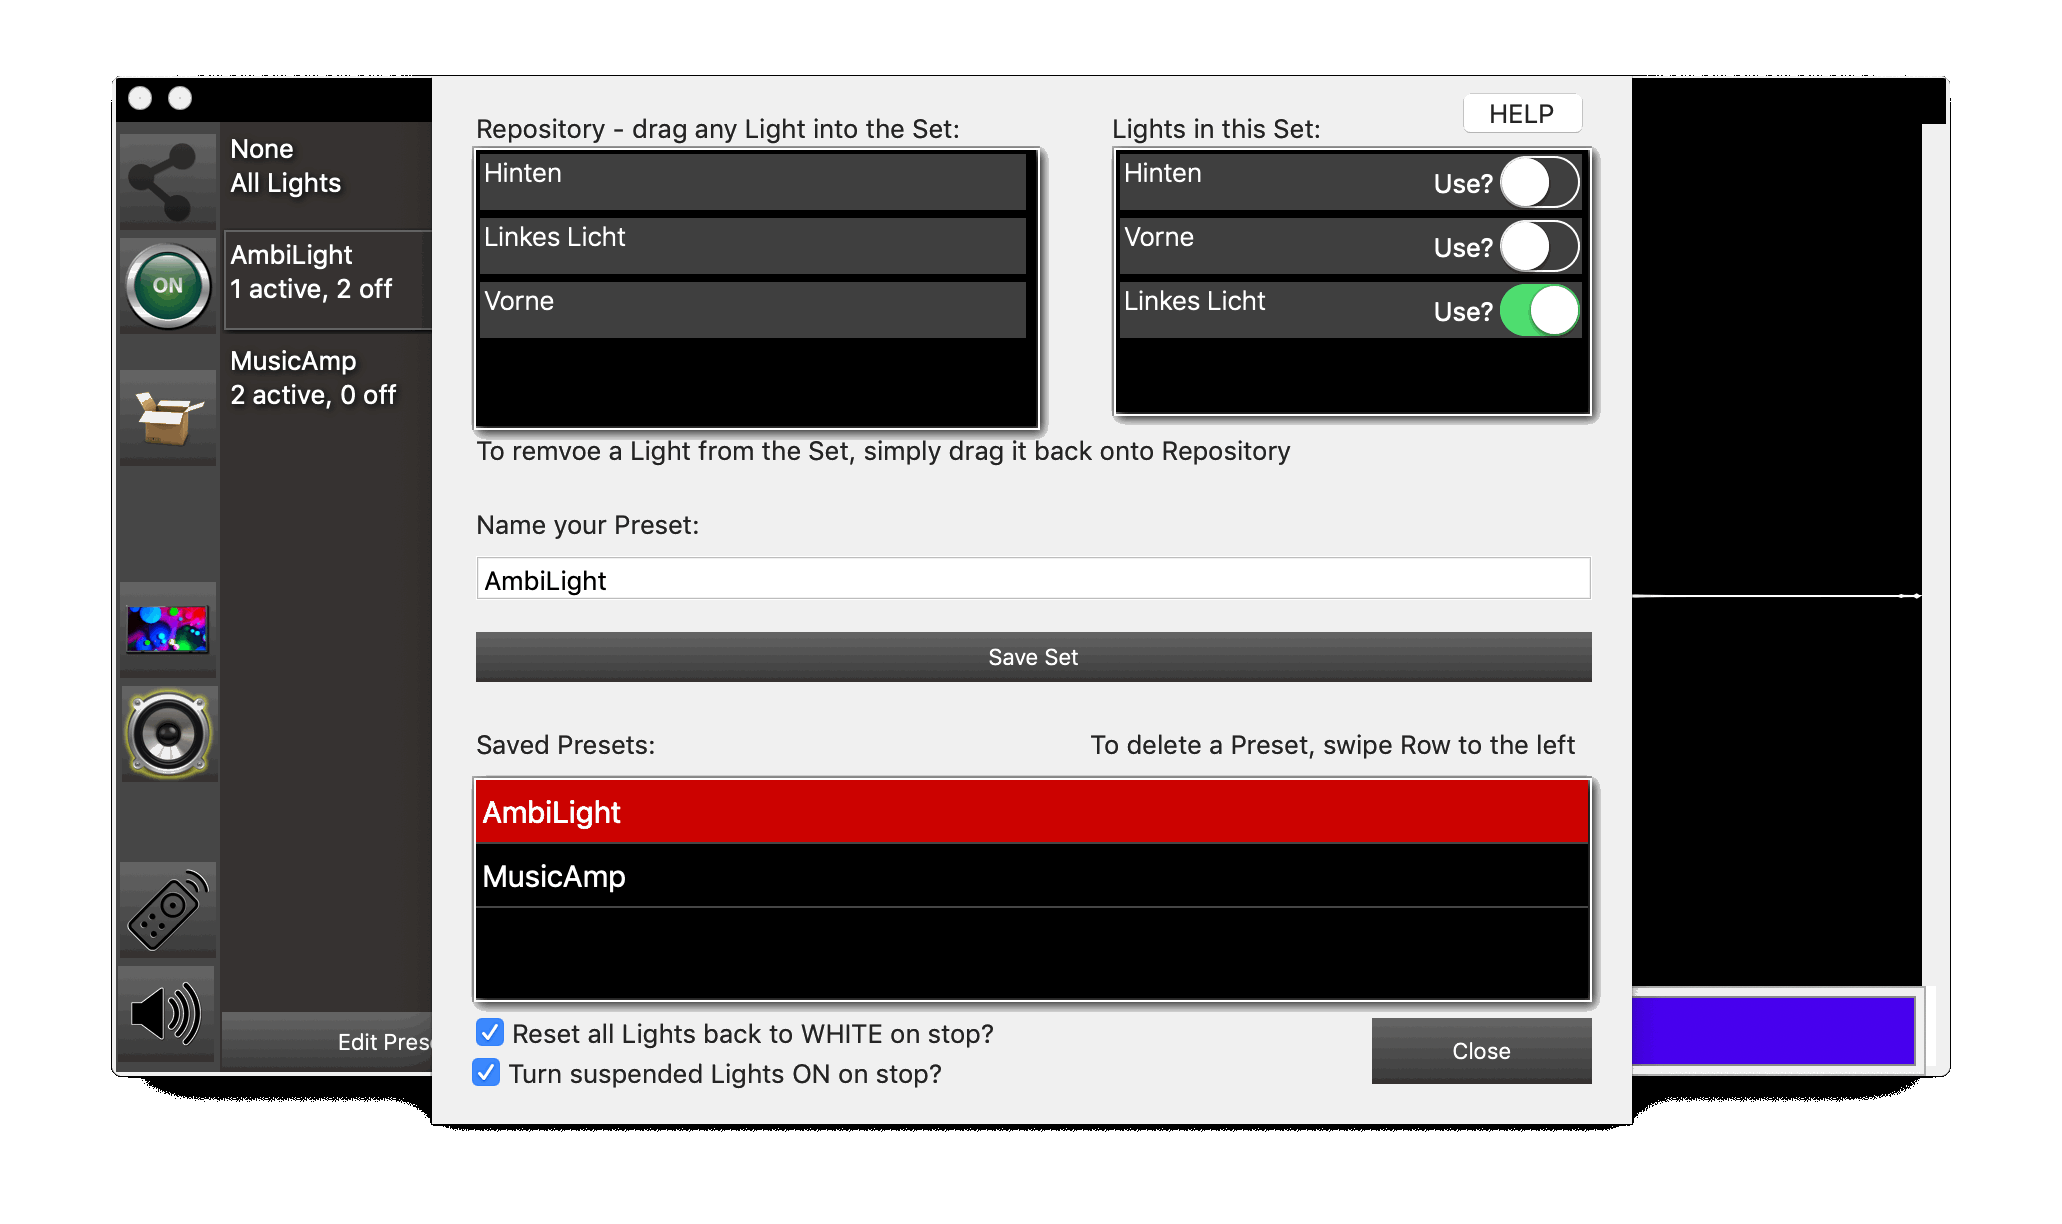
Create individual Presets: Choose which Bulb shallbe used and where, the next time you simply click start!
Get an Overview of all your Bulbs and Swtiches, control any Bulb on demand to turn it on or off, get Battery Levels for your Remote Switches


AmbiDesk for Hue has a quick access to all your Philips Hue connected Bulbs and Sensors/Remotes.
This list will summarise everything your Hue Bridge knows about, mainly targeting Hue compatible Devices (3rd Party Gadgets are mostly unconfirmed, but if the Bridge knows them, your changes are very high)
The whole Repository, especially the Sensors/Remotes Section feels like off-topic, but in my personal experience, its very handy to have all the Infor right here without the need to search and find them elsewhere.
Also, there is no real and easy way to view your Remotes Battery Level until its too late
And regarding the Bulbs, this might be helpful for Presets Config to know what type a Bulb may be or how i named it...
But best and fastest way to quickly adjust your setup once you started or stopped monitoring to turn a specific bulb on or off or to see if a bulb is even reachable because you may have turned it off by the wall switch.
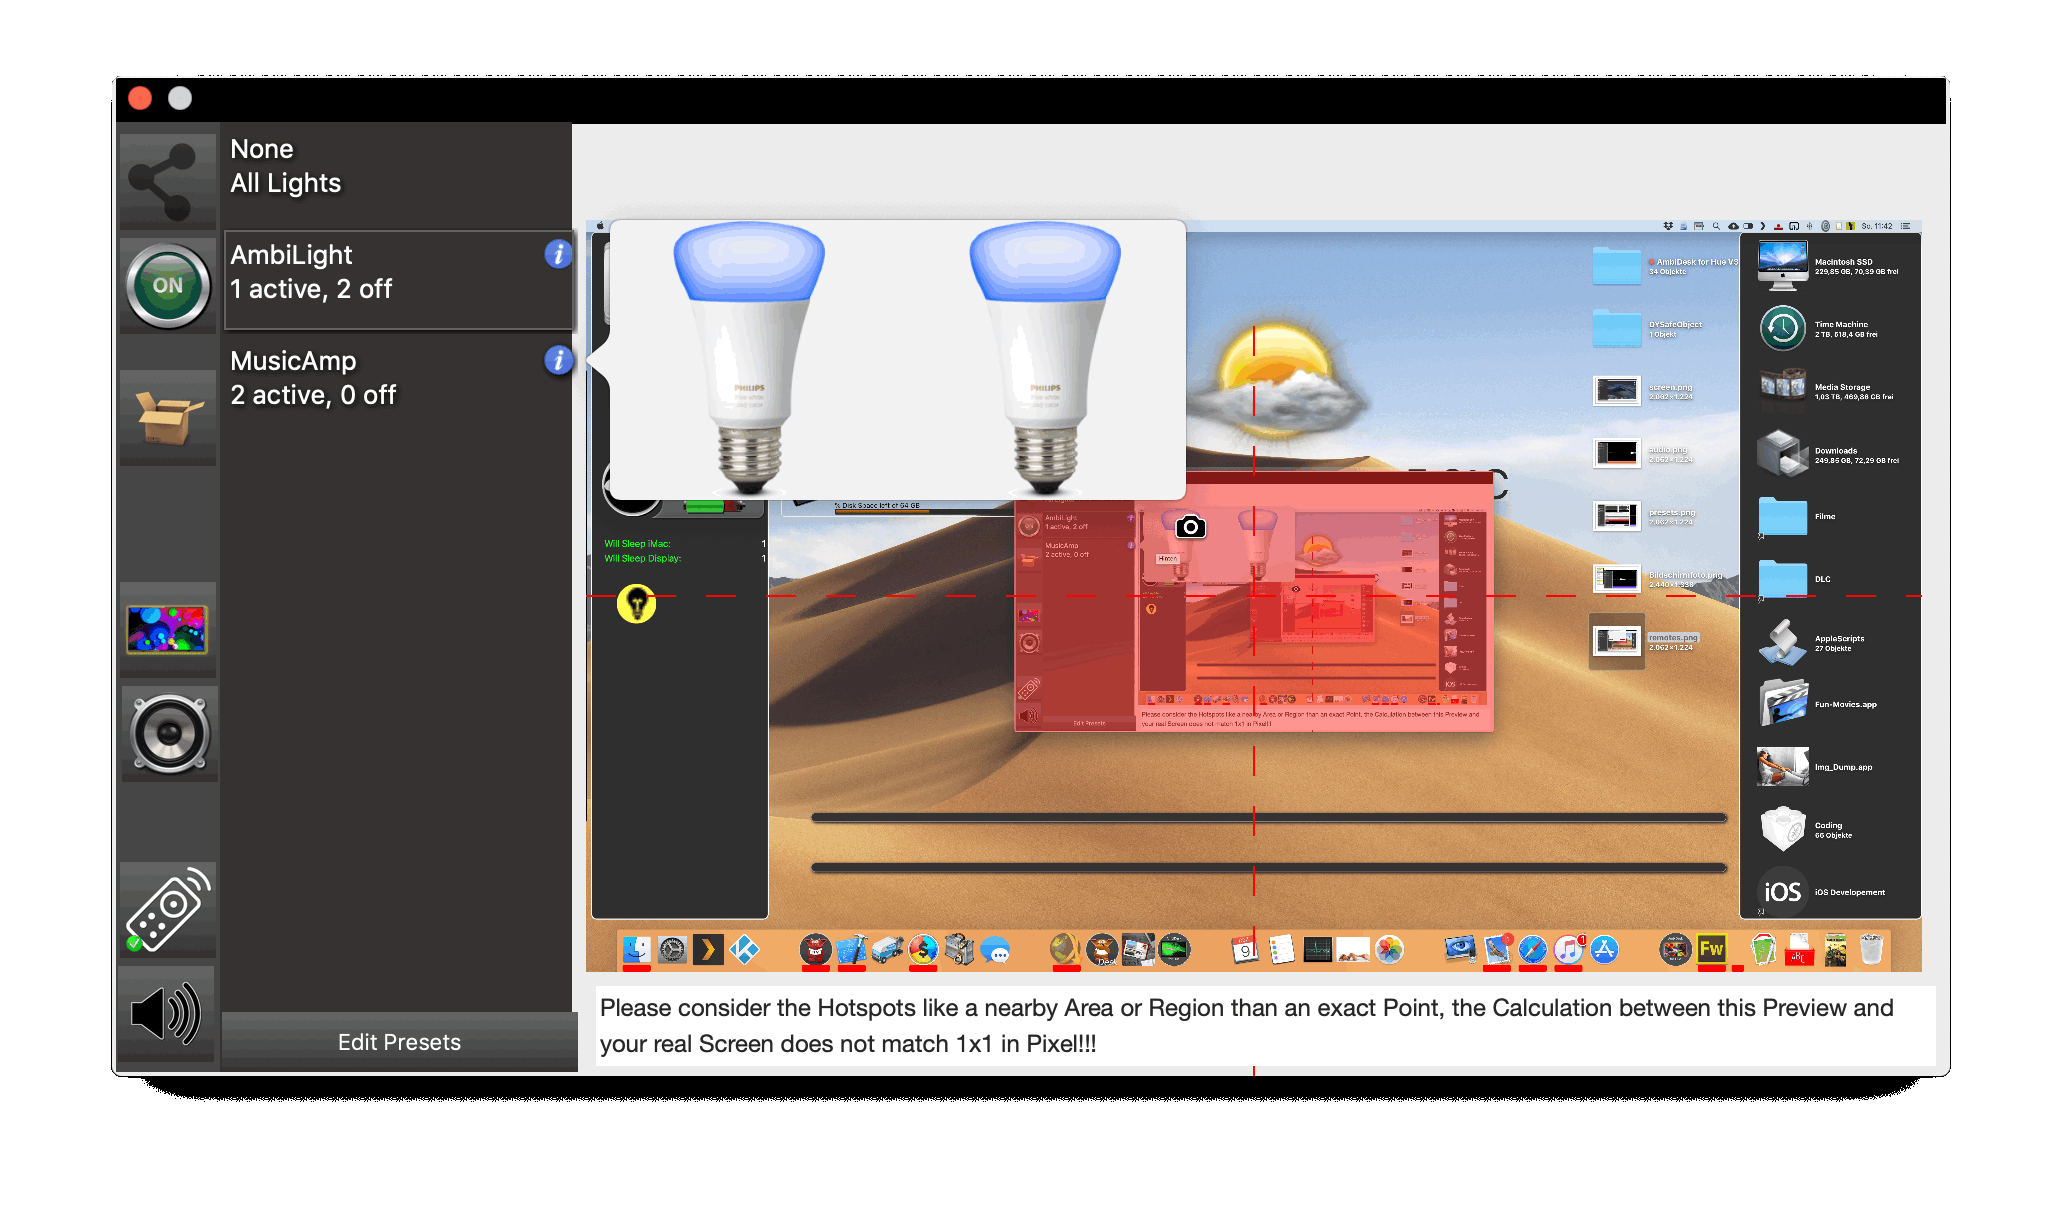
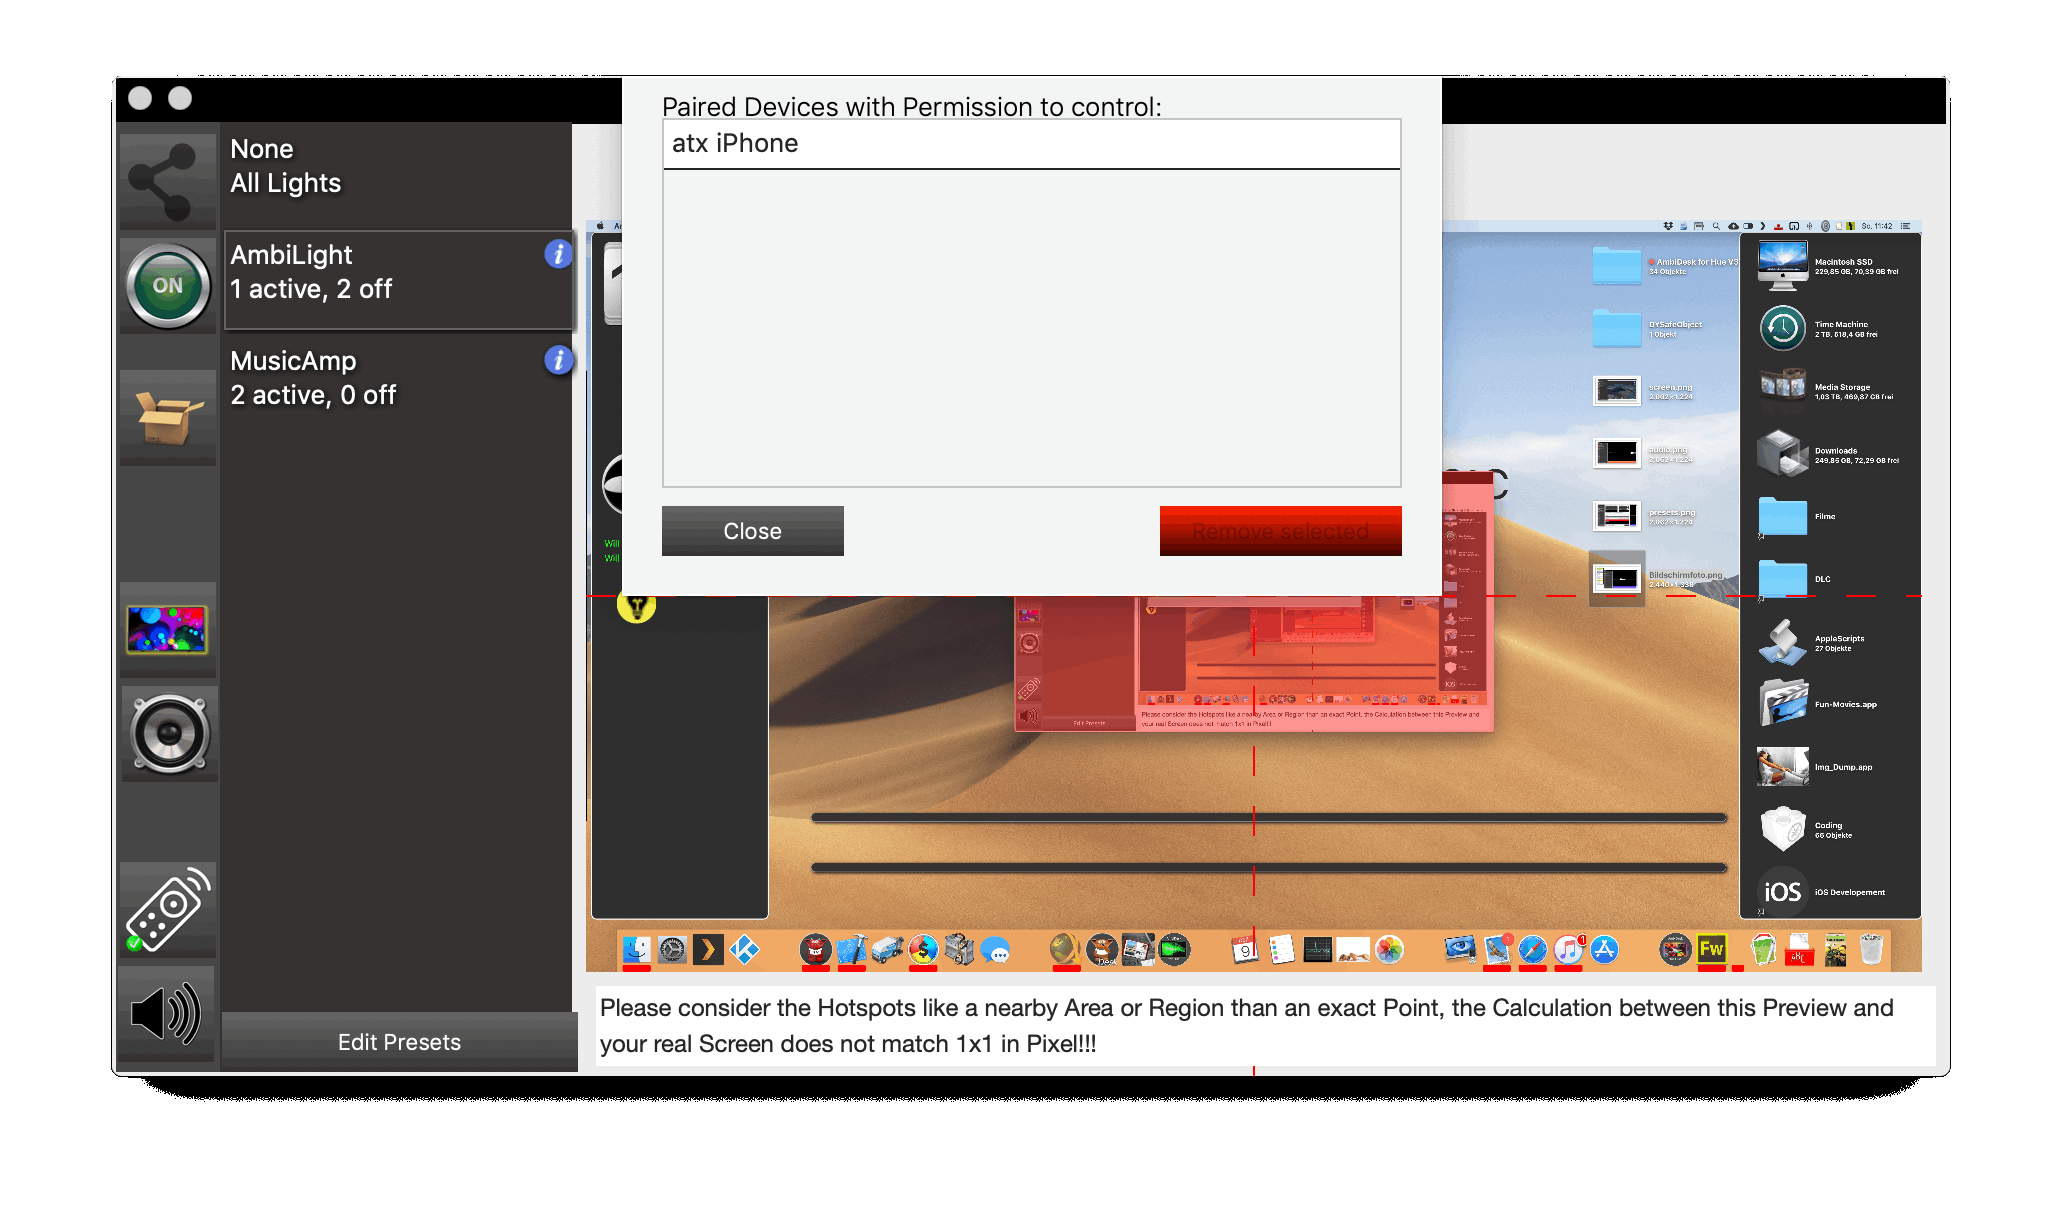
AmbiDesk for Hue can be controlled via an iOS Remote App too. Its a free App in the App Store, once you have installed it, you can connect to AmbiDesk if already running on your Network anywhere and toggle ON/OFF State of AmbiDesk Monitoring. The Remote App also provides a quick look at what AmbiDesk for Hue sees right now on connect and on toggle Monitoring, it also displays your current "Points of Interest" Setup on this Preview.
What are Presets and what are they for?
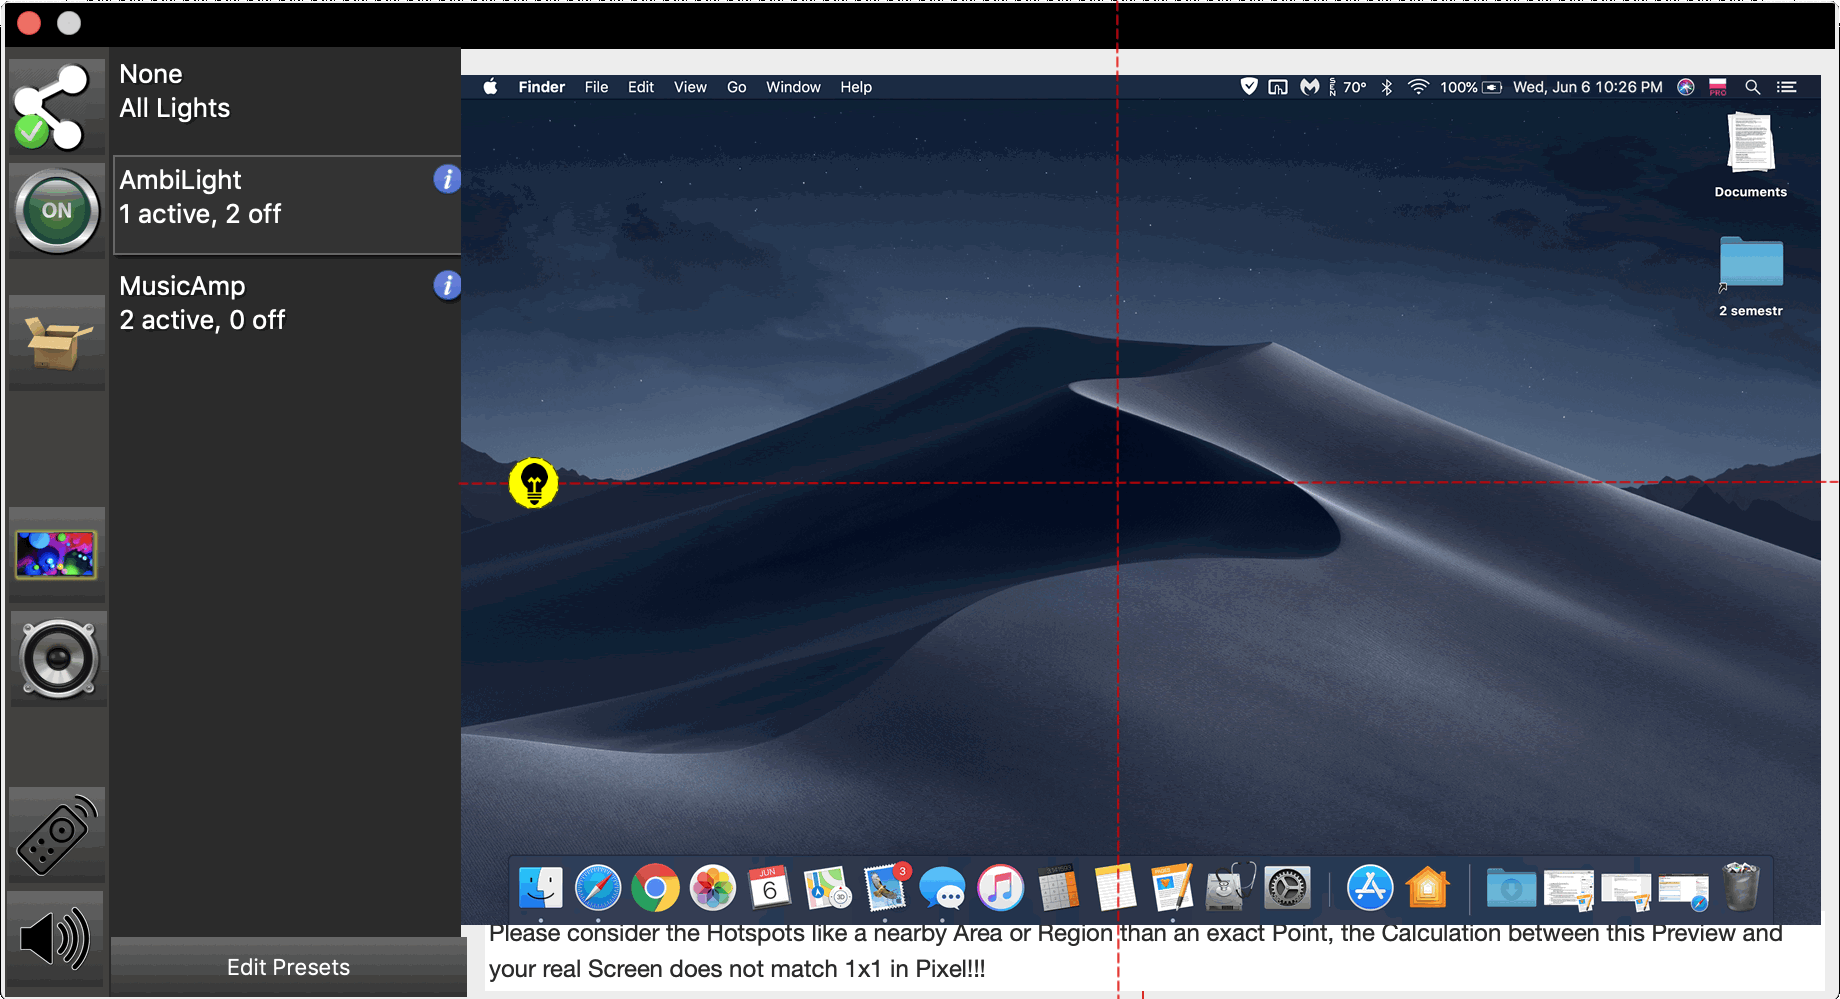
A Preset contains Lights and their Position you can setup in the main Window on the Desktop Preview Image by dragging and positioning them. But if you have more Bulbs or just want to use various Setups for various Occasions, thats what Presets are, so you can config Presets for any Purpose to avoid to setup your lights on each start of AmbiDesk.
E.g.: AmbiDesk has 2 modes, Video or Audio. For Video you would like to use one a certain Bulb, but for Audio you want to use your Ceiling Bulbs, so no need to change everything each time, simply use a Preset for this cases.
But let's explain this by example:
Imagine, you have a Philips Hue Starter Set with 3 Bulbs which stick in your Celing Lamp and you decide to extend your Setup with Ambience Lights like a left and right Lamp next to your iMac's Display for a more Ambilight -similar Effect.
Basically it is not a Problem to choose AmbiDesk to use only the left and right Bulbs next to your iMac, but what about the ceiling / room light?
Usually, you would start AmbiDesk and turn off your Room lights manually by Remote or by switching Lights off manually...
ow you can add Bulbs to your Preset and determine what shall happen with them once you start monitoring your Screen.
In this Scenario, you can add the left/right Bulbs as well as the Ceiling Bulbs and tell AmbiDesk to turn the Celing Bulbs off while monitoring.
This enables you to start your AmbiDesk Experience with just one click without further Actions or stand up for the Wall Switch.
Furthermore, each Preset has its own Options for what shall happen once you stop monitoring your Screen with AmbiDesk.:
1. Shall the turned off Bulbs be turned ON again automatically?
2. Shall AmbiDesk reset all used Bulbs back to white on stop? Basically , when you stop, all bulbs remain at the last colour they were displaying and it is up to you to either turn them to the cooler you want or whatever...
The main purpose of this Settings is:
E.g.: you start watching your Movie at the Evening, it dark outside and AmbidDesk turns off the lights for you for best Experience, but if you stop AmbiDesk, your Lights will go On and in White automatically, so you don't need to run through your Room in the dark to reach the Wall Switches or similar to make light again while all colours are dark or even black (imagine Post Credit Scenes in Movies, they are mostly while letters on black screen!
The Music Mode uses the built in Microphone of your iMac e.g. to access and listen for Audio Streams, either from the built-in Speaker, your WiFi or even Speech.
Based on heard Audio, AmbiDesk for Hue will grab the currently heard highest Note of the Input and uses a Pitch-To-Color Map to send it to your Philips Hue Lights.
This mode works also with your Presets and exactly the same as the default Screen Monitoring for AmbiLight similar visualisation, excepting that the Audio Mode does not support any Bulb positioning, while not needed.
There is also one limitation or issue, the Audio tracks its Pitch and Gain multiple times each second, and for his reason it would mean to have a LIVE Mode for Audio AmbiDesk would need to send Colours 10 times a second, this is not an issue for AmbiDesk, but for the Hue System in my experience, it cannot handle so many Calls in such a short time, so your experience once this occurs would be , your bulbs turn of for a second or two, and than continue, and while AmbiDesk uses the highest Notes sometimes it looks the colour does't change even if the Music changes, this seems to relate in too many calls to Philips Hue System, ignore it or let me know...
This mode can be also controlled via AmbiDesk Remote to start/stop, or toggle into this Mode or use your Screen with AmbiDesk Remote Version 1.2+
Additionally to this, the Music Visualiser has an additional extra: When selecting the Music Mode, you can fine tune the minimum level of sound needs to be made for Ambidesk to proceed this, this is made for situation like you don't want anyone talking, a dog si barking or similar to trigger AmbiDesk while it listens to your microphone, please note, the dB Levels are representative and not exact, this all depends also on your Microphone calibation in MacOS itself.
Nearly all Streaming Services like e.g. Netflix or Amazon Prime protect their Content with a technology called DRM (Digital Rights Management) to prevent Piracy, this was initially important for DVDs or BlueRays but since MacOS 10.13 an iOS 11 Apple integrated this technology deeply into their Operating Systems so there no way to take a screenshot or record the Screen while a Movie is playing in front within a Browser Window, you will see just a black screen and while this issue affects AmbiDesk as well while it cannot sniff the colors on the Screen while watching a streaming Service it doesn’t work as well, the bulbs will stay black.
Also very important:
AmbiDesk for Hue Version 3.0+ changed the way it draws the Live Preview, this was to reduce CPU usage and make everything run smoothly and faster, as a side effect Streaming Services like the mentioned above, behave now differently in MacOS Mojave e.g. so if you launch AmbiDesk and open any Browser to watch a Movie on e.g.Amazon Prime, you will see it progresses and you can even hear the Audio but the Picture will be black, quit AmbiDesk to continue watching…
I really wanted the feature to work, just for my own purposes, but there is no way around this, not even such Tech Giants like Philips's own Sync App can do this, instead of a black screen, you will get an unplayable Video Error Message in your Browser window, tried it out ^^
A small hacky way around:
DO NOT USE SAFARI, use Google Chrome, it works at the moment but may change in the future